Showing posts with label leopard nails. Show all posts

Friday, August 30, 2013

Leopard Tri-Color Mani


This week I decided on a fun multi colored leopard print mani. I used a Pinterest picture as inspiration but the link was dead so I can't give the person credit. I also added my own spin on it to make it a little different.

The leopard spots are extremely easy to do and I love how they turn out. This is a fun mani for those who are just starting out!

What you will need:
- Top and Base coats
- Black polish
- Teal (or light blue) polish
- Light Pink polish
- Dotting tool (or bobby pin but dotting tool works best)
- Foil or something similar (I use the top of a vitamin bottle so I can reuse it)


Start by prepping your nails as you normally would do (cut, file, etc) Next, paint your pinky and index finger with the black polish. Paint your ring and middle finger with the teal polish. Paint your thumb with the pink polish.

Next, we are going to create the spots. Dab some of the pink polish onto your foil. Use the larger end of your dotting tool, dip the ball into the pink polish so that we can create large non-perfect dots onto the ring and middle fingers.


Repeat the same steps for your thumb but instead of using pink, use the teal color. What we are doing is creating an offset effect with the colors.


Now we are going to finish the spots by adding black accents to the nails. Using the smaller end of the dotting tool, create small "C" shapes around the circles. Add a few small random dots in between the pattern. Repeat the steps for the thumb nail and the teal colored nails (ring and middle finger).


Last step is to paint with a top coat and you are all done! Rock that awesome mani :) Try playing with different colors to see what you like best.


Tuesday, July 23, 2013

Striped Leopard Mani


It's been awhile since I did a nail tutorial. Considering most of my posts are nail tutorials! You are in for a treat with this one.

It's a bit advanced but only because there are multiple steps. It takes some time but it is totally worth it. I got this idea from a Pinterest pin, but the link to the picture is not working so I cannot give the picture credit.

Note** It's very important to let your polish dry completely between each step! If you are doing this with the gel nail system (as I did) you need to cure each coat..

What you will need:
- Base and top coats
- Pink polish
- Black polish
- Small glitter polish
- Large or chunky glitter polish
- Striping tape
- Dotting tool


Start by painting your nails with the glitter. I used a very fine glitter on my pinky, middle, and index fingers. On the ring finger and thumb, paint it with a thicker/bigger. You can use the same glitter on all the fingers, but I wanted some contrast so that you would be able to see the leopard pattern better.


Next, on your nails that will be striped (pinky, middle, and index fingers), use the pink polish and paint about 1/3 of the nail starting at the tip. It's OK if the line is not perfectly straight. The tape will cover the line.


Now use your striping tape and place a line across the paint line of the pink. Make sure your nails are completely dry when you do this.


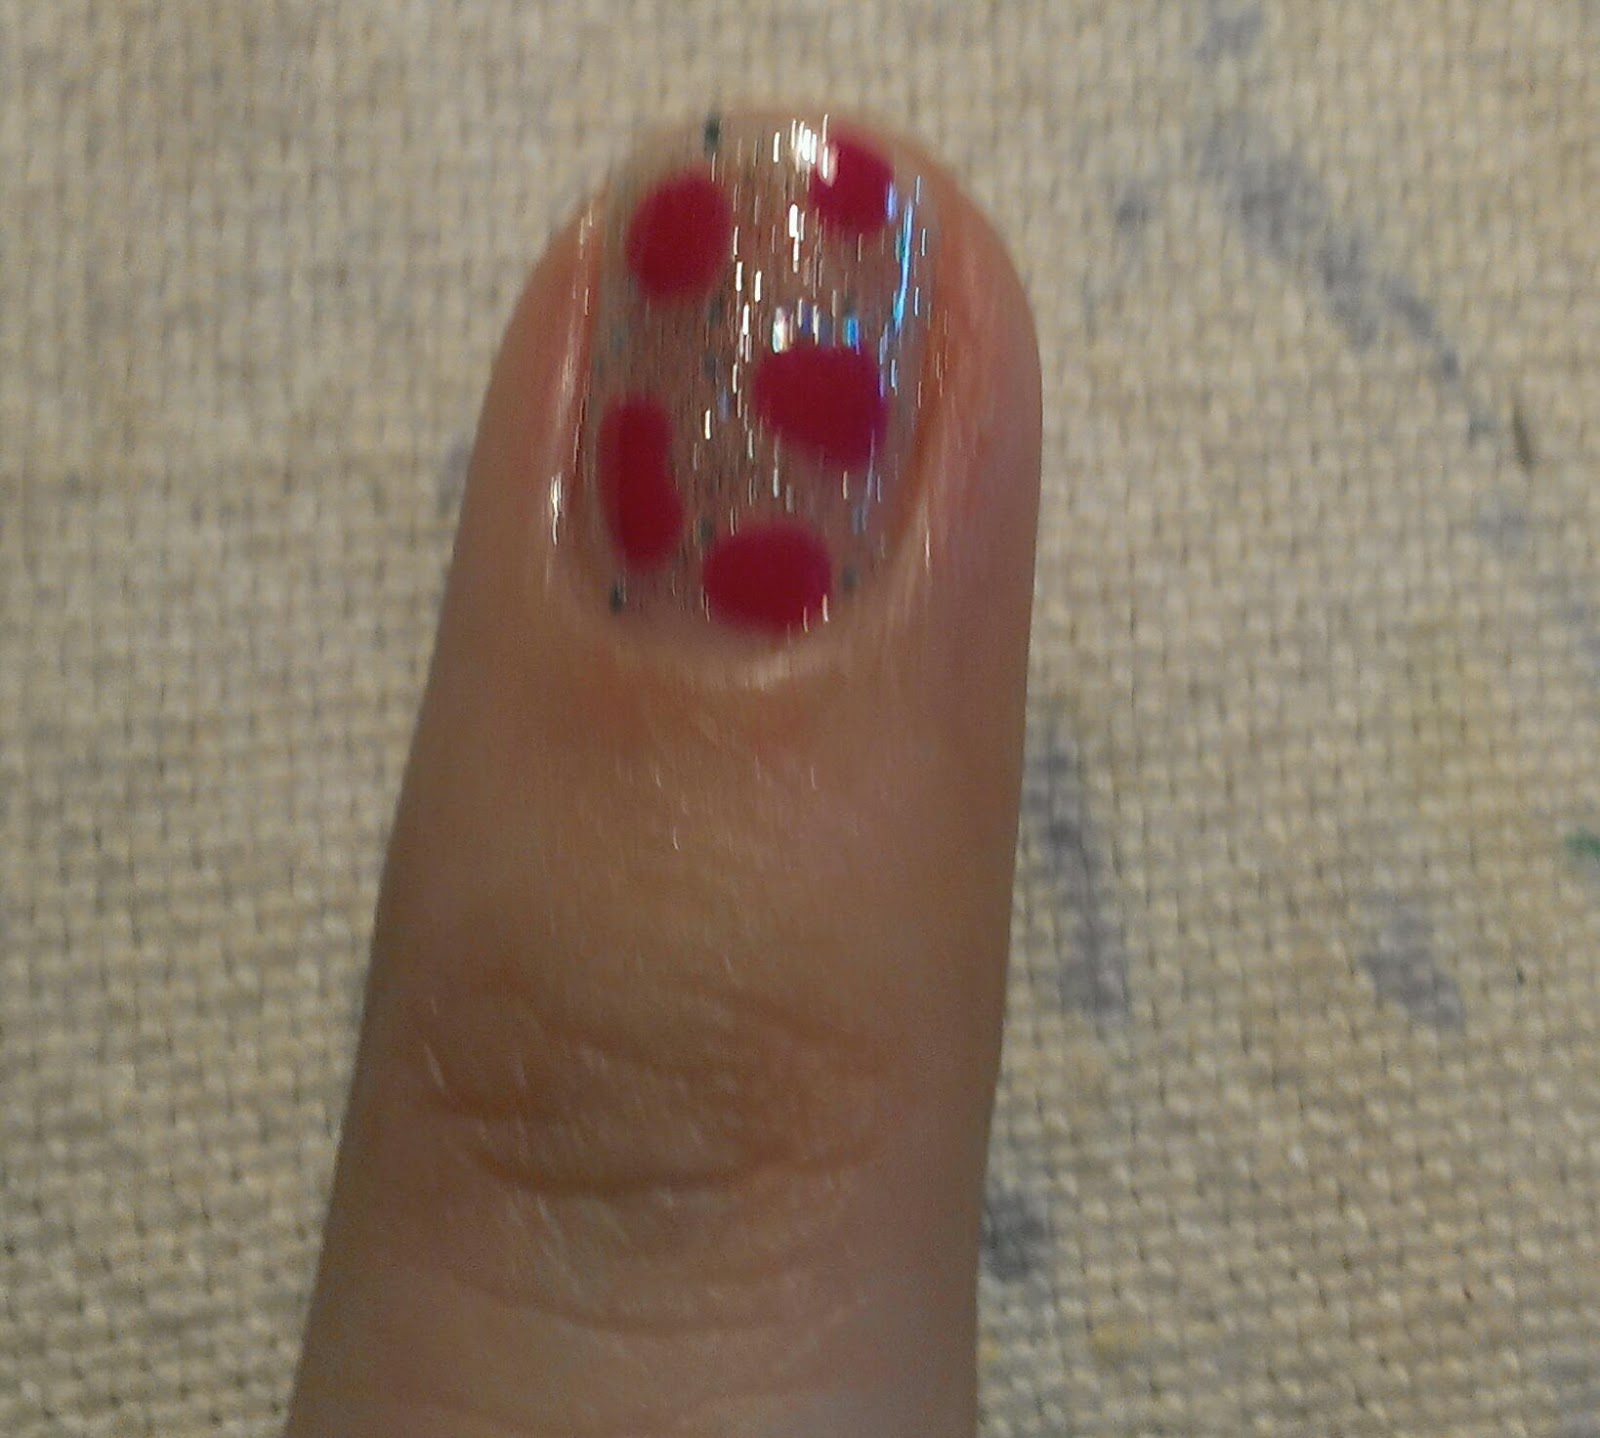
On your thumb and ring finger, use the dotting tool to add odd shaped ovals. This will be the start of the leopard print. TIP: It's easier to put some polish onto a foil piece or plastic rather than dipping the dotting tool into the nail polish bottle.


Using the black polish, create small "C" shapes around each of the pink dots. Randomly add black dots to add more detail.


Now finish with a top coat. I like to add two top coat layers, especially on the nails with the tape so that you ensure the tape will stay down.

Rock your cute mani :) 


Friday, April 19, 2013

Cute Leopard Mani

I'm feeling frisky and ready for another animal print mani!


I used a picture I saw on-line and mocked the idea adding a little of my own touch.

Start by prepping and painting your nails. I used Gelish Harmony Gossip Girl for the pink and use a gold I had for my ring finger and thumb. You want the accent finger to be a little lighter so you will be able to see the leopard design.


Next, using a dotting tool, crate odd shaped circles on your accent nail with the all over color you used on your other nails. So in this cause, use the pink to create the odd shaped dots on the gold.


Now, using the dotting tool again, create little odd shaped "C" shapes around the pink dots. Also, put a random black dot to give it a little accent. It's easier if you put your polish onto a piece of foil and dip the dotting tool onto the foil instead of trying to dip the dotting tool into the bottle of polish.


Now add some accent rhinestones to some of the pink leopard spots by dipping a tooth pick or an orange stick into some clear coat. Open your case of gems, and pick one out with the tip of the stick. Then place the  gem on your nail and top it off with clear coat.


Have fun trying different colors and accents. This is one you can probably do after having a few glasses of wine. My mom and I had a little slumber party and I managed to get a good result after 3 glasses of wine. Mani and wine FTW!


We did this using the gel polish. Please keep in mind if you are trying designs with the gel polish that you need to cure each coat. After we put the all over color on, we cured it in the UV light. Then we did another coat of the all over, cured again. We did the dots with black gel polish, then cured the dots in the UV light. Then we added the gems, and did two coats of the top coat, curing it after every coat.

If you do this with regular polish make sure to let each coat dry in between so you don't have any lumps or bumps.