Showing posts with label DIY Gel nails. Show all posts

Saturday, December 7, 2013

Fall Nail Idea


I got this idea initially off of Pinterest. I did a copy cat of it and here is my version. I have always like the idea of dark browns for fall.

I did this in gel polish over acrylic nails. I did the acrylic nails on my own and someday I plan to post a video tutorial on how to do your own acrylics. It is so very easy and cheap! I was not a huge fan of getting acrylic nails because of the cost and damage it does to your nail. When you do it on your own it seems you don't need to drill the natural nail as much and it causes little to no damage.

Anyway, back to the subject at hand. I did not take pictures during this one, but it's pretty simple I think you can figure it out! Enjoy :)


Thursday, October 31, 2013

Halloween Polka Dot Mani


Happy Halloween folks! It's already that time of year. Get your candy ready, your scare on, and out comes the Halloween mani's!

I got this idea off of Instagram. I have created an Instagram account so please follow me here or add me (@fabnfrugalnails).

I like this fun take off of Halloween colors without being too obvious.

What you will need:
- Top and base coats
- Black polish
- Orange polish
- White polish
- Gold glitter polish (optional)
- Dotting Tool
- Small piece of foil


Start by prepping your nails (clip, file, etc) and then paint your base coat and let dry or cure if you are using the gel polish.

Now, paint your thumb and ring finer orange. Paint you pinky and index finger black. Then your middle finger white. Let completely dry or cure if you are using the gel polish. Repeat as needed for as many coats you need.


Now, using a small piece of foil, dab some black and orange polish onto the foil. Grab your dotting tool and place random black and orange dots on your middle finger that is painted white. I used two different sizes dots for effect.

Add polka dots with dotting tool

Using your gold glitter polish paint over the orange nails with glitter to add some accent. Now let dry completely (or cure if using gel).

Add accent glitter (optional)

Lastly, paint your top coat and let dry. I added two top coats because I use the gel polish and I like mine thick. Enjoy your mani! I had help from my kitty Mya afterward. She sure seemed to like the mani!

Kitty Love! <3


Wednesday, October 9, 2013

Who Doesn't Love Glitter #2?


Another simple glitter gel nail idea. I didn't use powder glitter for this one, I just used Gelish Harmony Water Field over IBD Just Gel color Serendipity.

I love the IDB colors. I only have to do two coats and they go on so smoothly and evenly. The top picture is in artificial light and the one below in natural light.

Have I mentioned lately how much I love gel nail polish? :)


Thursday, August 22, 2013

Pink Glam Nail Mani


It's been awhile since I posted! I am so sorry! I have been very busy. But I think you will like this one and I hope this makes up for it.

I am going to post most of the steps for this one but not all of them because it's actually quite easy and like a lot of my other tutorials.

What you will need:
- Base and Top coats
- All over color ( I used IBD Funny Bone - a pink gel color)
- Sliver glitter (or lose glitter)
- Rhinestone gems (I used stars and a square one for my pinky)

Start by prepping your nails first (file, clip etc) then paint all of your nails with your base coat. Next paint all of your nails with your all over color.


Next, on your thumb, use a toothpick or orange stick to apply three star rhinestones in a row. Use clear top coat to get it to stick to your nail.


Then apply a single gem to your pinky. Paint your ring finger with silver glitter. On your pointer finger do an ombre effect and just paint the tip of the nail.

Make sure to put a nice thick top coat on the nails that have the gems. I start by putting a small dot of top coat right on top of the gem then use the brush to even it out. This allows to get a good thick coat so the gems do not fall off.

Be creative and have fun!


Friday, August 9, 2013

Yellow Glitter Ombre Mani


This is a quick easy one. I haven't posted in awhile I know I am a slacker. I have been so busy and that isn't going to change with the up coming weeks.

I have been focusing a lot lately on my weight loss journey. I made the decision it was time for me to start getting healthy instead of talking about it and wishing for it. It's been 4 weeks and I am down 10 pounds and still going strong! In case you are interested I have started a separate blog about my journey. You can find that here.

OK... back to why you are here. This awesome mani was done with gel polish but can be done with regular polish. Instead of posting step by step instructions on how to do this, I am going to point you to a different post that shows it because it's the exact same steps just different colors.

I like the yellow with the silver glitter a lot. It really pops. In case you are curious I used IBD Just Gel Polish, color was called Rocco. I started trying the IBD colors as compared to the Gelish Harmony brand, and I am glad I branched out. These colors are just as great, go on smoothly, and they are about $4 cheaper. And... you all know how much I like saving money! So pop on amazon and take a look!


Monday, July 29, 2013

Pink Tiger Nail Tutorial


I got some new gel polish and I fell in love with the color! I bought some IBD colors which is a new brand for me since I normally use the Gelish Harmony brand. I was surprised by how much I liked this color and it was much cheaper than the gelish.

As with all my tutorials; you can do this with the gel nail polish or regular. I did mine with the gel but if you do it with normal polish make sure you let each coat dry completely before going onto the next step.

What you will need:
- Base and top coat
- Pink Polish (I used IBD Just Gel Parasol)
- White Polish
- Silver glitter polish or loose sliver nail glitter
- Thin nail art brush
**You can get nail art brushes and nail glitter on amazon for only a few dollars.


Step 1: Prep your nails as you normally would by clipping, filing, etc. Then start by painting your base coat. If you are doing the gel, cure your base coat. If you are new to gel polish, read my tutorial on how to do gel nails here.

Step 2: Paint your middle finger, pinky, and thumb with the pink.


Step 3: Paint your ring finger with white polish.
**Note if you are doing the gel polish, cure your nails before going to step 4**


Step 4: Using your nail brush, paint tiger stripes by starting at the edge of the nail and slowly lifting the brush to create a thick to thin line. (Cure in UV light if using gel)


Step 5: Paint your index finger with silver glitter polish. If you are using a loose glitter like I did, you may want to paint your index finger first with a silver glitter then cure the nail in the UV light to get the tacky surface for the loose glitter to stick to. Once cured, dip a dry nail brush into loose glitter and appy to the nail. (If using regular polish paint with a top coat and before the top coat dries dab loose glitter onto the nail).


Step 5: Apply a top coat to all the nails. If you used the loose glitter, you may want to apply two coats of the top coat to that nail.

I really liked the way this turned out. I think it would work with practically any color. Enjoy!


Tuesday, July 23, 2013

Striped Leopard Mani


It's been awhile since I did a nail tutorial. Considering most of my posts are nail tutorials! You are in for a treat with this one.

It's a bit advanced but only because there are multiple steps. It takes some time but it is totally worth it. I got this idea from a Pinterest pin, but the link to the picture is not working so I cannot give the picture credit.

Note** It's very important to let your polish dry completely between each step! If you are doing this with the gel nail system (as I did) you need to cure each coat..

What you will need:
- Base and top coats
- Pink polish
- Black polish
- Small glitter polish
- Large or chunky glitter polish
- Striping tape
- Dotting tool


Start by painting your nails with the glitter. I used a very fine glitter on my pinky, middle, and index fingers. On the ring finger and thumb, paint it with a thicker/bigger. You can use the same glitter on all the fingers, but I wanted some contrast so that you would be able to see the leopard pattern better.


Next, on your nails that will be striped (pinky, middle, and index fingers), use the pink polish and paint about 1/3 of the nail starting at the tip. It's OK if the line is not perfectly straight. The tape will cover the line.


Now use your striping tape and place a line across the paint line of the pink. Make sure your nails are completely dry when you do this.


On your thumb and ring finger, use the dotting tool to add odd shaped ovals. This will be the start of the leopard print. TIP: It's easier to put some polish onto a foil piece or plastic rather than dipping the dotting tool into the nail polish bottle.


Using the black polish, create small "C" shapes around each of the pink dots. Randomly add black dots to add more detail.


Now finish with a top coat. I like to add two top coat layers, especially on the nails with the tape so that you ensure the tape will stay down.

Rock your cute mani :) 


Wednesday, June 5, 2013

Polka Dot Fun!


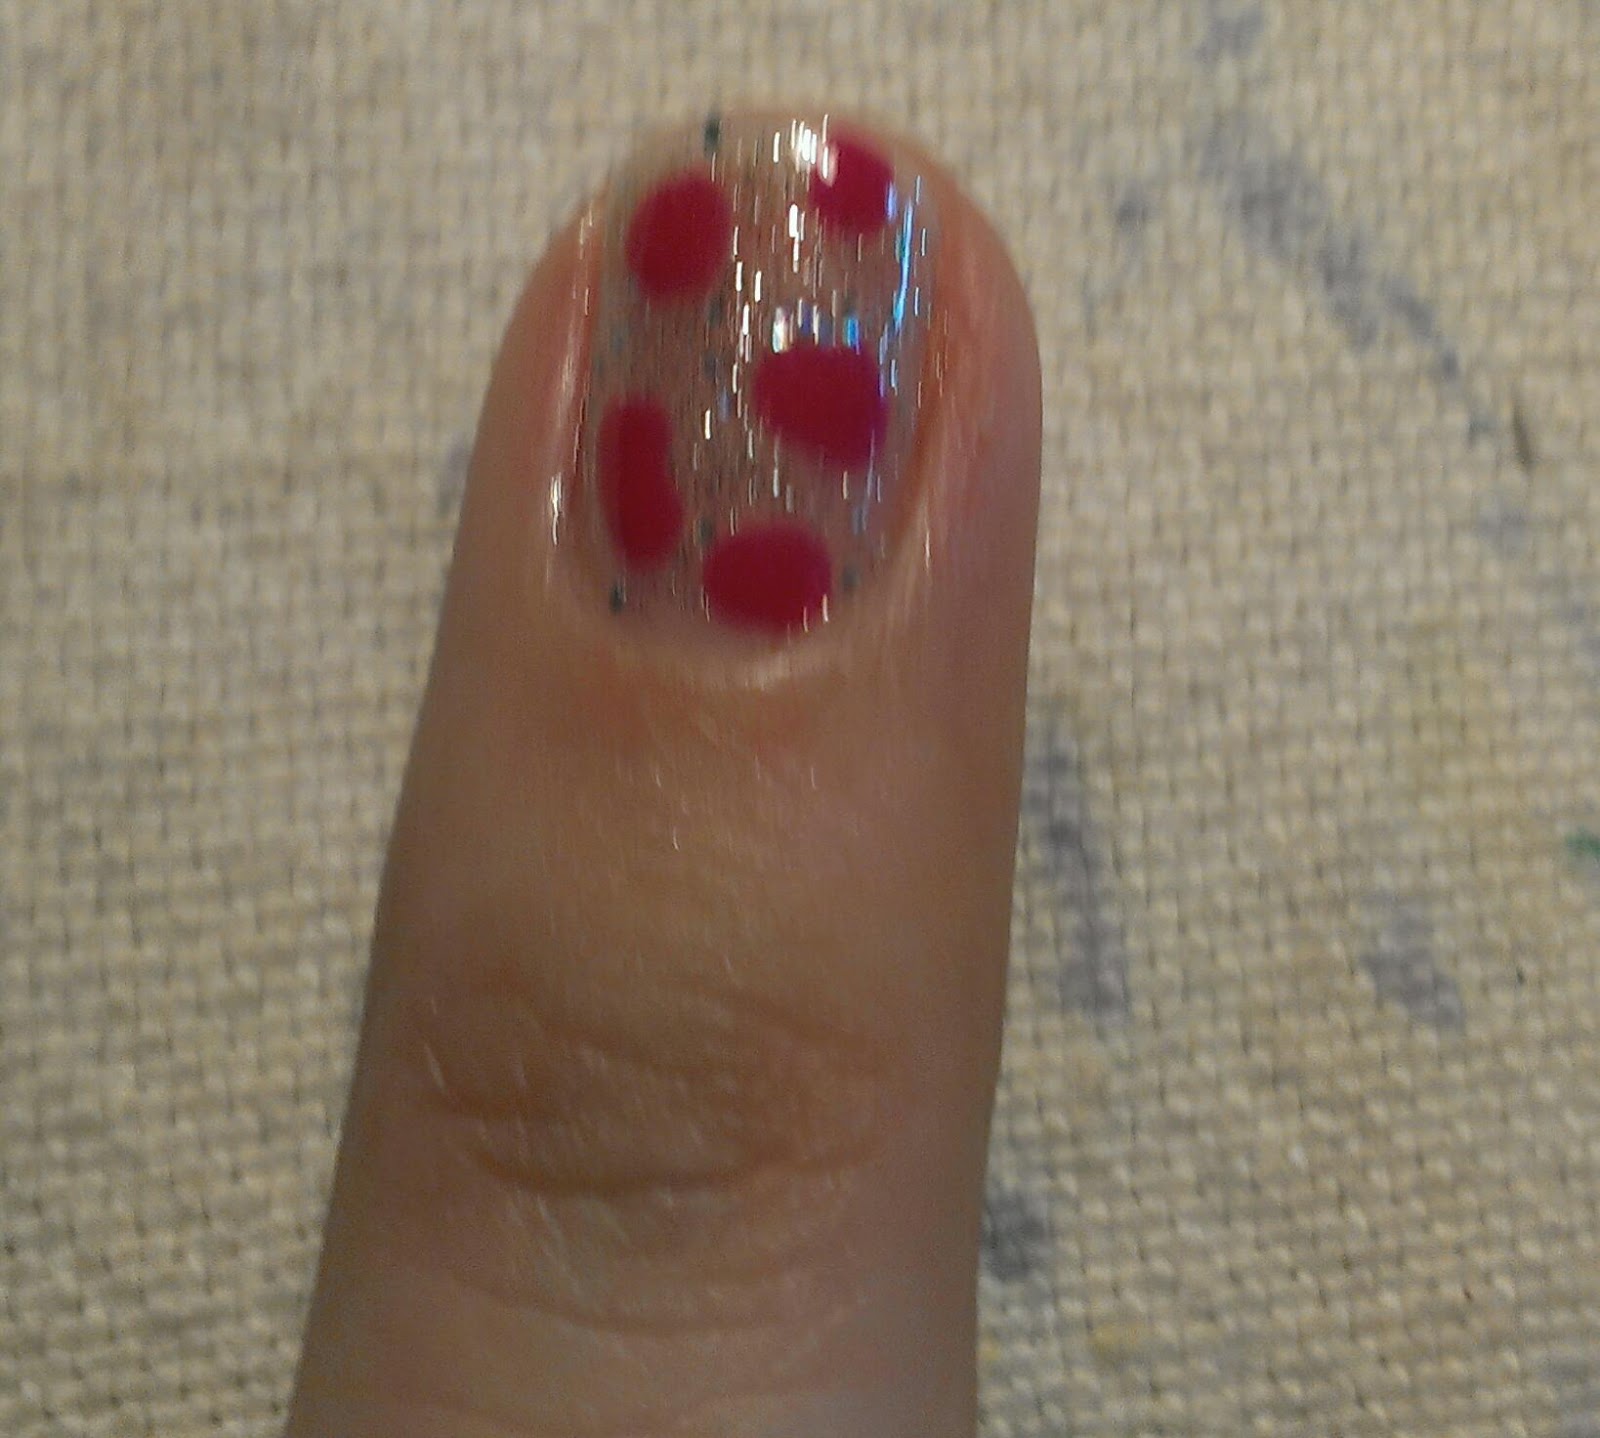
Dust off those dotting tools and lets have some fun with polka dots. I am not a huge fan of the dot manicures but I tried this one and liked it alot. I did this one with regular nail polish but I am sure it can easily be done with the gel polish as well.

For instructions on how to do gel nail polish see blog post here. For list of what you will need to do your own gel nails at home look at this blog posting.

What you will need:
  • Dotting tool, like this one
  • Dark all over polish. I used purple
  • Three lighter colors. I used two different shades of pink and white.
  • Base and Top coats.
  • Small piece of foil
Step 1: Prep nails like normal (clip, file, etc) then paint your base coat and let completely dry.

Step 2: Paint your all over color. Add a second coat if needed but let dry completely in-between coats. 


Step 3: Start with one color at a time, and use your dotting tool to dot a few medium sized dots in a diagonal direction across your nail. It's easiest if you place the color on a foil piece and dip the dotting tool onto the foil instead of trying to dip the dotting tool into the bottle of polish.


Try dotting a few dots onto the foil before you dot onto your nail. This will ensure you have the right size dot, and you do not have too much polish on the tool.


Step 4: Repeat step 3 for each color. Let dry completely.


Step 5: Finish with top coat and let dry. 

Try different color combinations or try using glitter or other fun accents. Enjoy!


Tuesday, June 4, 2013

Pink Zebra Bling Mani


So today I have for you a fun mani. I did this with the gel nails. I am pretty sure you can get the same outcome if you use regular polish. Thanks to my little sister Megan for being my model this time!

If you are wondering how to do gel nails at home, see my post here. Also, for a list of what you need to do gel nails at home go here.

What you will need:

Step 1: Prep your nails as normal. File, clip, etc.

Step 2: Paint your nails with the base coat. If using the gel nail polish, cure your base coat. If regular polish, let completely dry.

Step 3: Paint all of your nails with the pink and let dry completely (if using gel, cure in UV light). Repeat if you feel you need two coats.


Step 4: Now on all of your nails (except your ring finger) paint thin black stripes that look like zebra stripes. Easiest way to do this, is to put your polish on some foil, dip your thin nail brush into the polish on the foil, and starting at the sides of the nail create thin long "V's" to look like stripes. And then add squiggly lines around the "V". Practice on the foil before trying it on your nail.

If using regular polish let dry completely. If using gel polish, cure in the UV light.


Step 5: On your ring finger, we are going to add the gem accents. Start at the nail bed and place gems one by one onto the nail. There is no rhyme or reason to this, just position them so they all fit. If you are using the gel polish, the gems should stick because of the "tacky" layer underneath after curing the last coat. I know it sounds weird, but trust me it works.

If using regular polish you may want to make sure your nail is a bit tacky from the last coat so the gems will stick. If your nail is already dry, try adding a layer of a topcoat so you can have something to stick the gems to.

If you are having a hard time getting the gems out of the case, dip a tooth pick, or an orange stick into a clear polish and then dip into the gems. You can get one out and place it on your nail. (I don't have a picture of this but next time I do it, I will snap a photo to show you.

No need to cure or dry yet, move on to step 6.


Step 6: Clean your nail brush to get out the black polish. Use the same nail brush to add glitter accents to the back stripes. Lightly paint over the black with the glitter. If using regular polish let dry completely. If using gel polish, cure in the UV light.


Step 7: Lastly, make sure you top coat like crazy so those gems will stick. If you are using the UV system, top coat the zebra nails once. Top coat the "bling" nail at least two times. Curing between each coat. 

If using regular polish, do the same, but make sure that each coat is completely dry before you add another coat. 

This mani seems hard, but it's actually quite easy. You just need to have patience and practice. If you are uncomfortable with your zebra stripes, try practicing on foil. 

Enjoy!


Friday, May 10, 2013

Ombre Tiger Gel Mani Tutorial


I got a little bored the other day and wanted to try the tiger mani with the gel polish. I've done it before with regular polish. You can see those pictures here. That one had white and orange. This time I decided to use neon orange and neon yellow.

What you will need:

  • Black polish
  • Orange polish
  • Yellow polish 
  • Glitter accent (I used gold glitter)
  • Realllllllly thin nail brush

Step 1: Start by prepping your nails as normal (cut, file cuticles etc). Then put on your base coat (cure base coat if your are doing gel)

Step 2: Now, paint the orange polish 3/4 of the way up your nail starting at the cuticle and going up. **Do not cure yet**


Step 3: Now, using your yellow polish, paint the tip you left uncolored by the yellow, and paint down and just a little over the orange. The gel polish because it doesn't dry by air, will kind of run together. This is why you do not want to cure after you paint the orange on.


Step 4: Now once you have done this to all of your fingers, cure the polish. Repeat step 3. You want two coats to give you that ombre. And again, with the gel, it will blend together mixing, but be careful not to use too much polish.


Step 5: With your nail brush paint black stripes over the nail. Make them thicker on the sides and go outward thinner to look more like tiger stripes. If using the gel, cure the black stripes in the UV lamp.

Step 6: Add glitter over some of the black tiger stripes to accent. Cure if using gel.

Step 7: Top coat (if using gel... you guessed it, cure!) 

Step 8: Go out and show off your cute DIY mani! Go ahead brag that you did it yourself. I give you permission!