Showing posts with label nail paint. Show all posts

Thursday, August 22, 2013

Pink Glam Nail Mani


It's been awhile since I posted! I am so sorry! I have been very busy. But I think you will like this one and I hope this makes up for it.

I am going to post most of the steps for this one but not all of them because it's actually quite easy and like a lot of my other tutorials.

What you will need:
- Base and Top coats
- All over color ( I used IBD Funny Bone - a pink gel color)
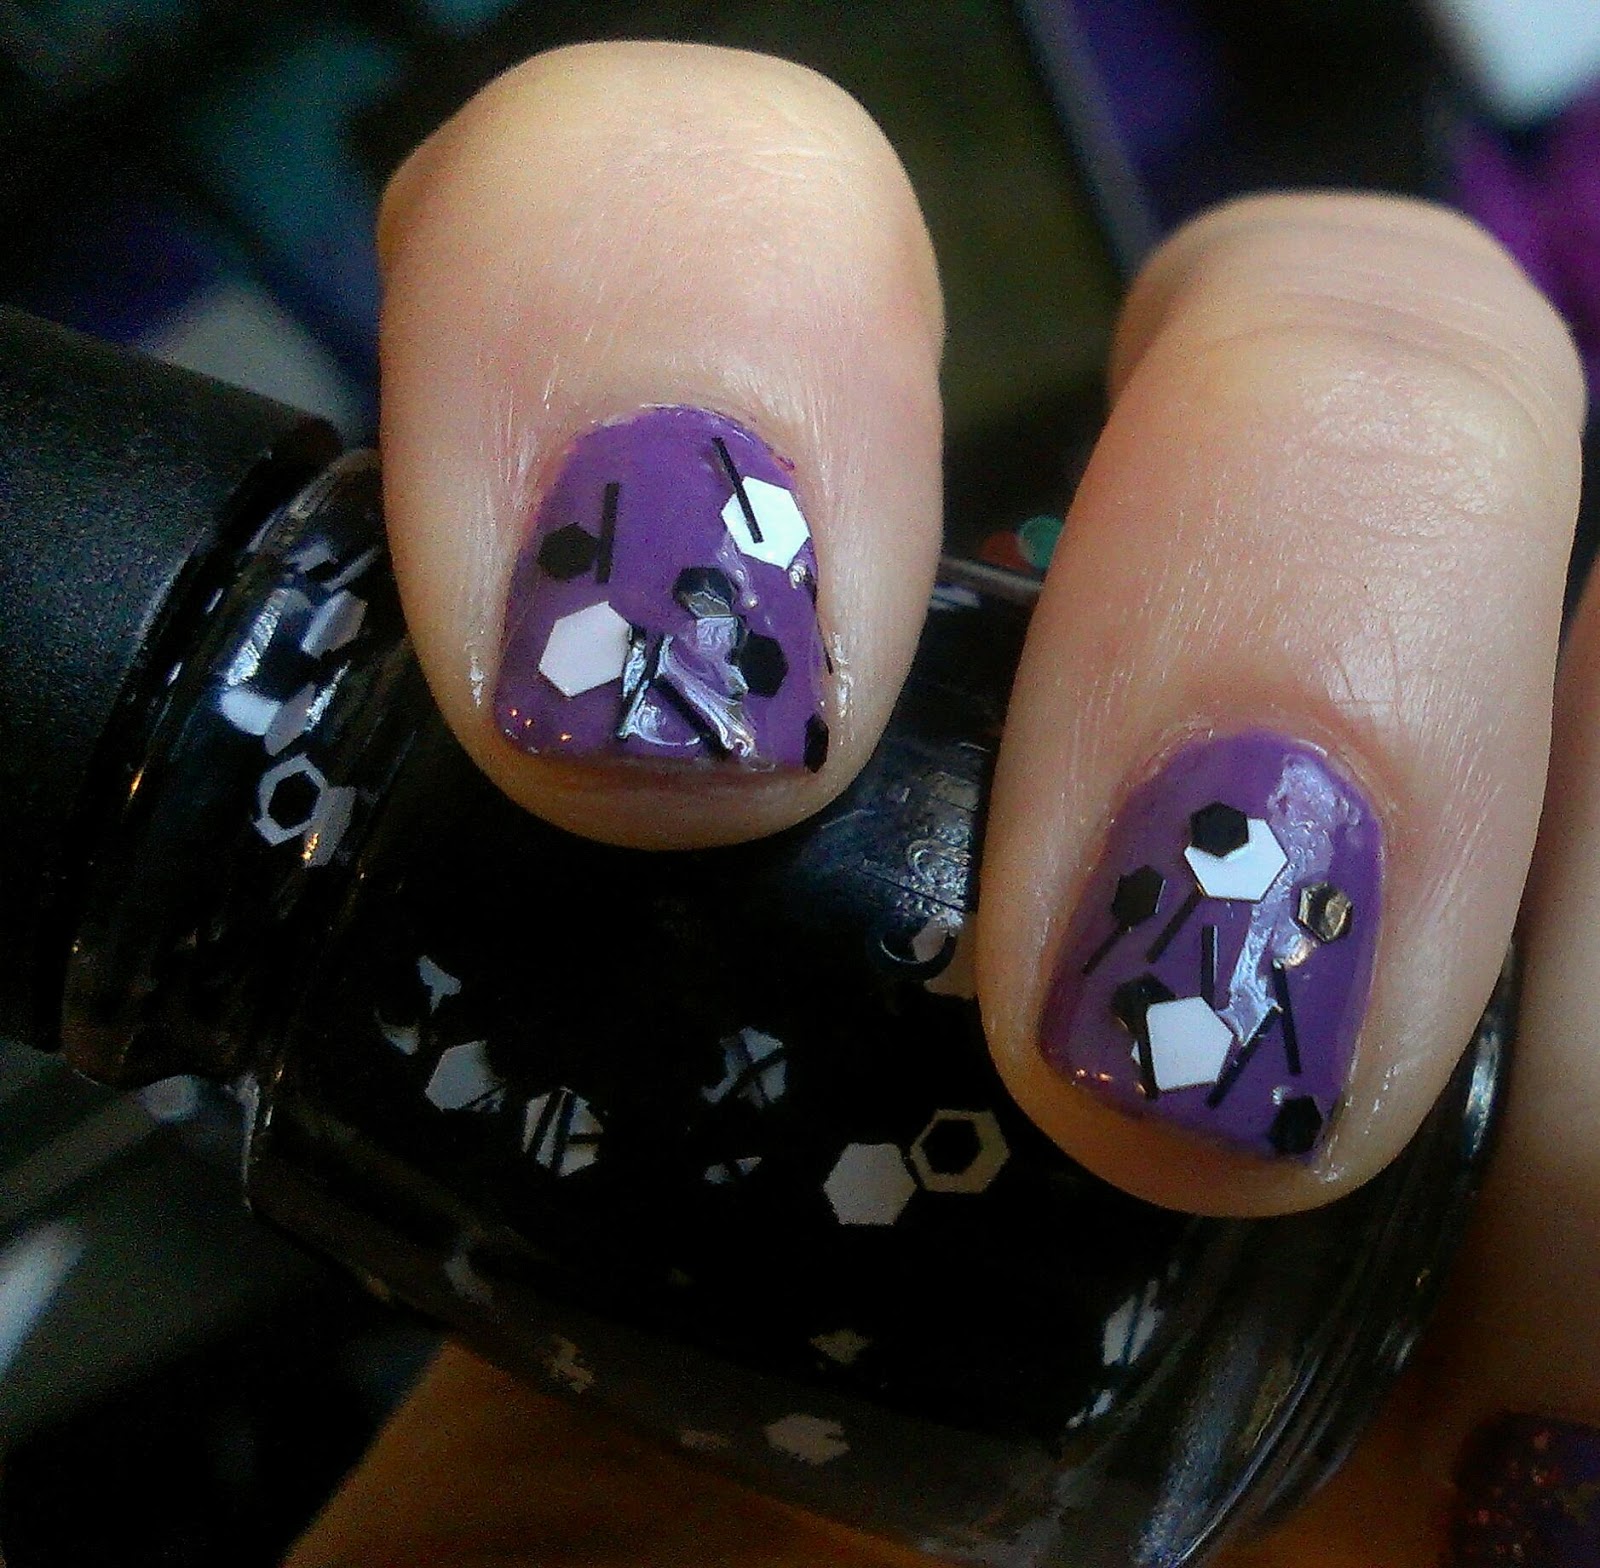
- Sliver glitter (or lose glitter)
- Rhinestone gems (I used stars and a square one for my pinky)

Start by prepping your nails first (file, clip etc) then paint all of your nails with your base coat. Next paint all of your nails with your all over color.


Next, on your thumb, use a toothpick or orange stick to apply three star rhinestones in a row. Use clear top coat to get it to stick to your nail.


Then apply a single gem to your pinky. Paint your ring finger with silver glitter. On your pointer finger do an ombre effect and just paint the tip of the nail.

Make sure to put a nice thick top coat on the nails that have the gems. I start by putting a small dot of top coat right on top of the gem then use the brush to even it out. This allows to get a good thick coat so the gems do not fall off.

Be creative and have fun!


Tuesday, March 19, 2013

Fun Easter / Spring Nails

Today just a quick tutorial for a great spring or Easter nail. I like this take on an Easter Egg without being too literal about it.

I got this idea from a Pinterest pin, so I cannot claim the creativity on this one. However, I loved it so much I had to try and recreate it.

Start by taking an all over color. Choose something light so that the overlay will show up. I chose Harmony Gelish Seafoam.

After you paint your 1 or 2 coats of an allover color, paint a diagonal line with your thin nail brush with a black.

Fill in the tip of the nail from the diagonal line up with black polish.

Using a dotting tool, make medium sized dots over the black polish.

Use a thin nail brush to create a glitter accent diagonally where the light color meets the black.
Lastly, finish with a top coat!

I will post pictures when I do it next :-( sadly I didn't have my camera while I was doing this.
Enjoy!
This was done with gel nail polish. The base color is
Gelish Harmony Seafoam

Friday, March 15, 2013

St Patty's Day Clover Manicure


Ayyy mi lads and lassies! It's that time of yer again....

Green beer, corned beef and cabbage, awful Irish accents, and lots of green! Whatever you do to celebrate  be safe and have fun!

In the spirit of St. Patrick's Day, I've added a special Clover Manicure just for you. Yes you! If you've seen or attempted my hearts manicures in the past, you will find this super easy as its just a few hearts connected.

Start by painting your nails as normal. I painted my nails green and left my ring finger a glittery gold color. This is the finger I will add my clover accent.

Once you've got your nails painted, on a piece of foil, put a small dollop of green polish.


Put small amount of polish on foil
Using a dotting tool (i got mine on amazon), create three sets of two dots next to each other. This will be the start of your leaves for the clover. I am doing three leaf clover. If you want to make a four leaf clover just make sure you have enough room.

You will want to use a medium sized dotting tool. If it's too big, the dots will run together. If the dotting tool is too small, you will not get the right size you need for the leafs.


Small dots next to each other to start the leaves
Now, put a large dot in the middle of your smaller sets of two dots.

Add large dot in middle

Start to blend all the circles together using the smaller end of your dotting tool. You don't necessarily need to add any polish, just blend the dots to look like a clover.

Blend circles together

Lastly, add a stem at the bottom of the clover. I did this with the small end of the dotting tool. 

Last step: add stem

Here is the finished product. It's pretty easy try it a few times on the foil if you want to practice before you try it on your nails. Add more accents or add some dots around the clover for something a little different. If you have black polish and a thin nail brush, feel free to outline the clover with black polish!

Now go out there and drink lots of beer, eat lots of food, and show off your new manicure! 

Thursday, March 14, 2013

China Glaze Whirled Away Polish Review

I was aimless gawking at everything at my new store addiction (Sephora) and stopped in front of a China Glaze end cap.

There, looking at me with perfect nail polish daze was the China Glaze Whirled Away polish. I had to try it. Plus I had a coupon! Oh yeah! 

I was going to try this without an undercoat but decided to top it over China Glaze Spontaneous. This being one of my all time favorite purples.

I will tell you, this polish is hard to work with. The little pieces are kind of big and don't go onto the nail evenly. You want to make sure you shake the bottle well before you start to paint. Also, use a tooth pick or pin to adjust the pieces once you apply. They tend to stick over one another, so I used a pinhead and spread them out so it wouldn't look so thick. I recommend to do one nail at a time.

Overall it's a neat effect, I like it on top of another color. It took awhile to dry because it is so thick so if you have some time to kill and wait for your polish do dry and want a cool effect, try this. 

If you are impatient, stray away from this one.

China Glaze Whirled Away on top of
China Glaze Spontaneous 

Friday, February 8, 2013

Heart Mani/Pedi


Cute little hears and dots. Awe, now that's better than a
Valentines Day card!

I am not a huge fan of the big Hallmark Holiday we all know as Valentines Day. However, I do love an excuse to have cute pink fingers and toes!

This called for a heart mani/pedi.

Please excuse the condition of my toes (in the pic below), I got surgery done on my arm which resulted in me being in a sling, and I have not had the mobility to properly take care of my feetsies at the moment. I am ashamed!

I messed up the lower right of this heart, but you get the point.
Use a dotting tool to create two large dots, then blend them
down to a "V" to create the bottom of the heart.

Either way, the manicure is still really cute and easy.

The dots - easy, use a dotting tool.

The hearts, use a dotting tool (large one works better) dot two dots right next to each other. Next, put another dot below the two large dots. Then use a smaller dotting tool (or a toothpick) to blend them together in a heart shape.

Try dotting all the way around with accents, or using different colors. Be creative!

Below is my attempt at some photo instructions. I hope it makes sense, it really is easy so it's hard to show how to do it!


Step 1: Use large dotting tool and dot
two right next to each other
Step 2: Put a smaller dot just below the
two larger dots
Step 3: Using a smaller dotting tool
(or toothpick) blend the
dots to look like a heart.


Tuesday, January 29, 2013

Pink Zebra Nail


Make sure to let each coat dry before moving onto the
next step

Tried one on my own this time. It was actually pretty easy, just a little time consuming. I haven't tried this with the gel polish yet, this is with regular polish.

~ Start by painting a base coat
~ Paint nail with a bright pink
~ Using a light pink, paint a diagonal tip
~ Using black polish, paint zebra lines (use a really thin nail brush and paint little squiggles)
~ Paint a silver accent across the nail where the light pink and dark pink meet
~ Paint top coat

Use a thin nail brush for zebra stripes and silver stripes

Sunday, January 20, 2013

Ladybug Nails


I have seen these cute little bugs all over Pinterest and nail blogs for awhile. So today I finally decided to paint these gals on my fingers. I used the instructions found in the DIY Nail Art book by Catherine Rodgers as a baseline, but added my own things here and there.

I started by painting my nails red.

Next drew a line down the center of each nail with black polish.

Then drew a small half circle kind of shape at the base of each nail.

Then, I filled in each half circle with black polish.

I used a dotting tool and dotted the spots on the lady bugs.

Lastly, I used the same dotting tool to add the eyes.

I love the way they turned out! I will be doing these again.


Lady bug nail art