

It's a bit advanced but only because there are multiple steps. It takes some time but it is totally worth it. I got this idea from a Pinterest pin, but the link to the picture is not working so I cannot give the picture credit.
Note** It's very important to let your polish dry completely between each step! If you are doing this with the gel nail system (as I did) you need to cure each coat..
 What you will need:
- Base and top coats
- Pink polish
- Black polish
- Small glitter polish
- Large or chunky glitter polish
- Striping tape
- Dotting tool
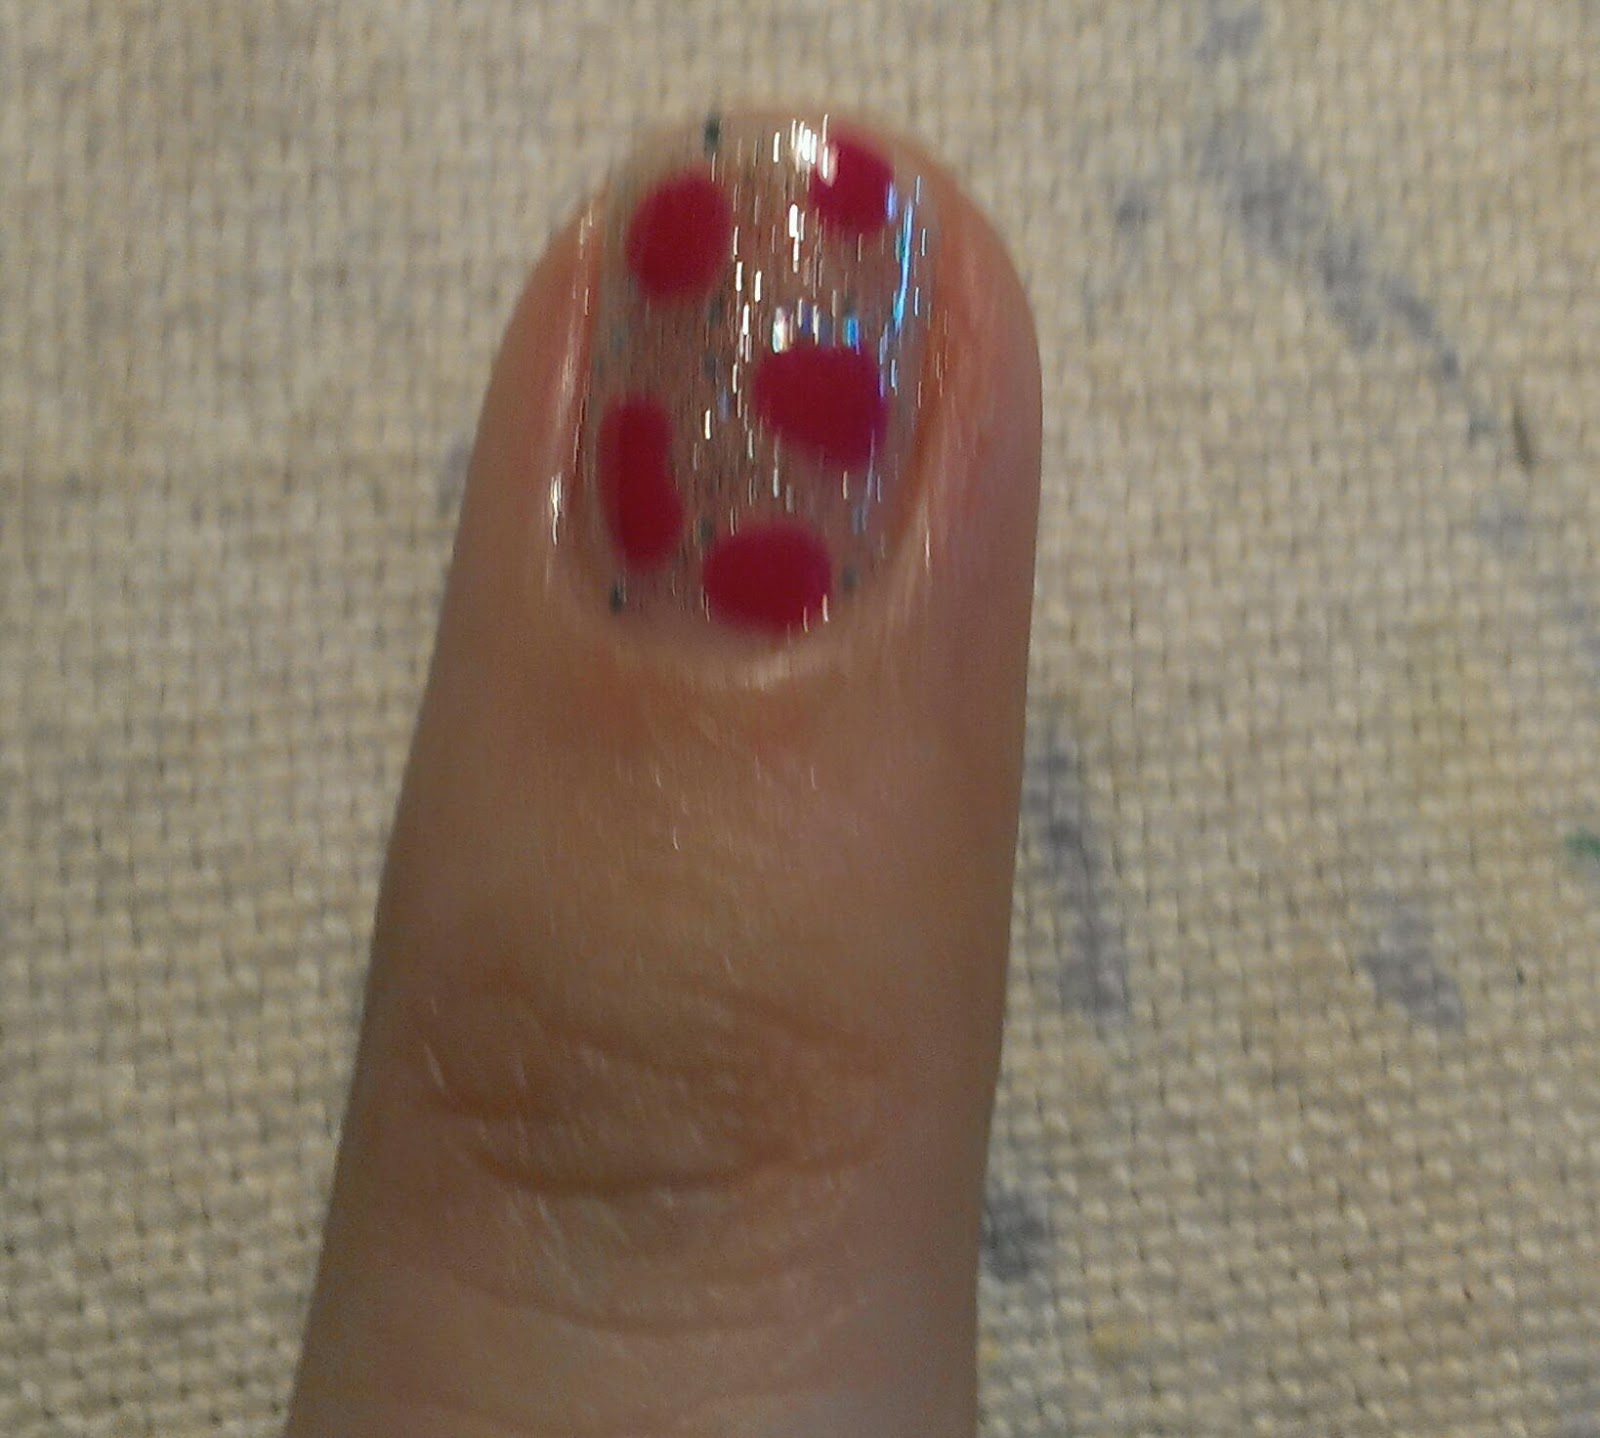
Start by painting your nails with the glitter. I used a very fine glitter on my pinky, middle, and index fingers. On the ring finger and thumb, paint it with a thicker/bigger. You can use the same glitter on all the fingers, but I wanted some contrast so that you would be able to see the leopard pattern better.


On your thumb and ring finger, use the dotting tool to add odd shaped ovals. This will be the start of the leopard print. TIP: It's easier to put some polish onto a foil piece or plastic rather than dipping the dotting tool into the nail polish bottle.
Using the black polish, create small "C" shapes around each of the pink dots. Randomly add black dots to add more detail.

Rock your cute mani :)

No comments:
Post a Comment