Monday, July 29, 2013

Pink Tiger Nail Tutorial


I got some new gel polish and I fell in love with the color! I bought some IBD colors which is a new brand for me since I normally use the Gelish Harmony brand. I was surprised by how much I liked this color and it was much cheaper than the gelish.

As with all my tutorials; you can do this with the gel nail polish or regular. I did mine with the gel but if you do it with normal polish make sure you let each coat dry completely before going onto the next step.

What you will need:
- Base and top coat
- Pink Polish (I used IBD Just Gel Parasol)
- White Polish
- Silver glitter polish or loose sliver nail glitter
- Thin nail art brush
**You can get nail art brushes and nail glitter on amazon for only a few dollars.


Step 1: Prep your nails as you normally would by clipping, filing, etc. Then start by painting your base coat. If you are doing the gel, cure your base coat. If you are new to gel polish, read my tutorial on how to do gel nails here.

Step 2: Paint your middle finger, pinky, and thumb with the pink.


Step 3: Paint your ring finger with white polish.
**Note if you are doing the gel polish, cure your nails before going to step 4**


Step 4: Using your nail brush, paint tiger stripes by starting at the edge of the nail and slowly lifting the brush to create a thick to thin line. (Cure in UV light if using gel)


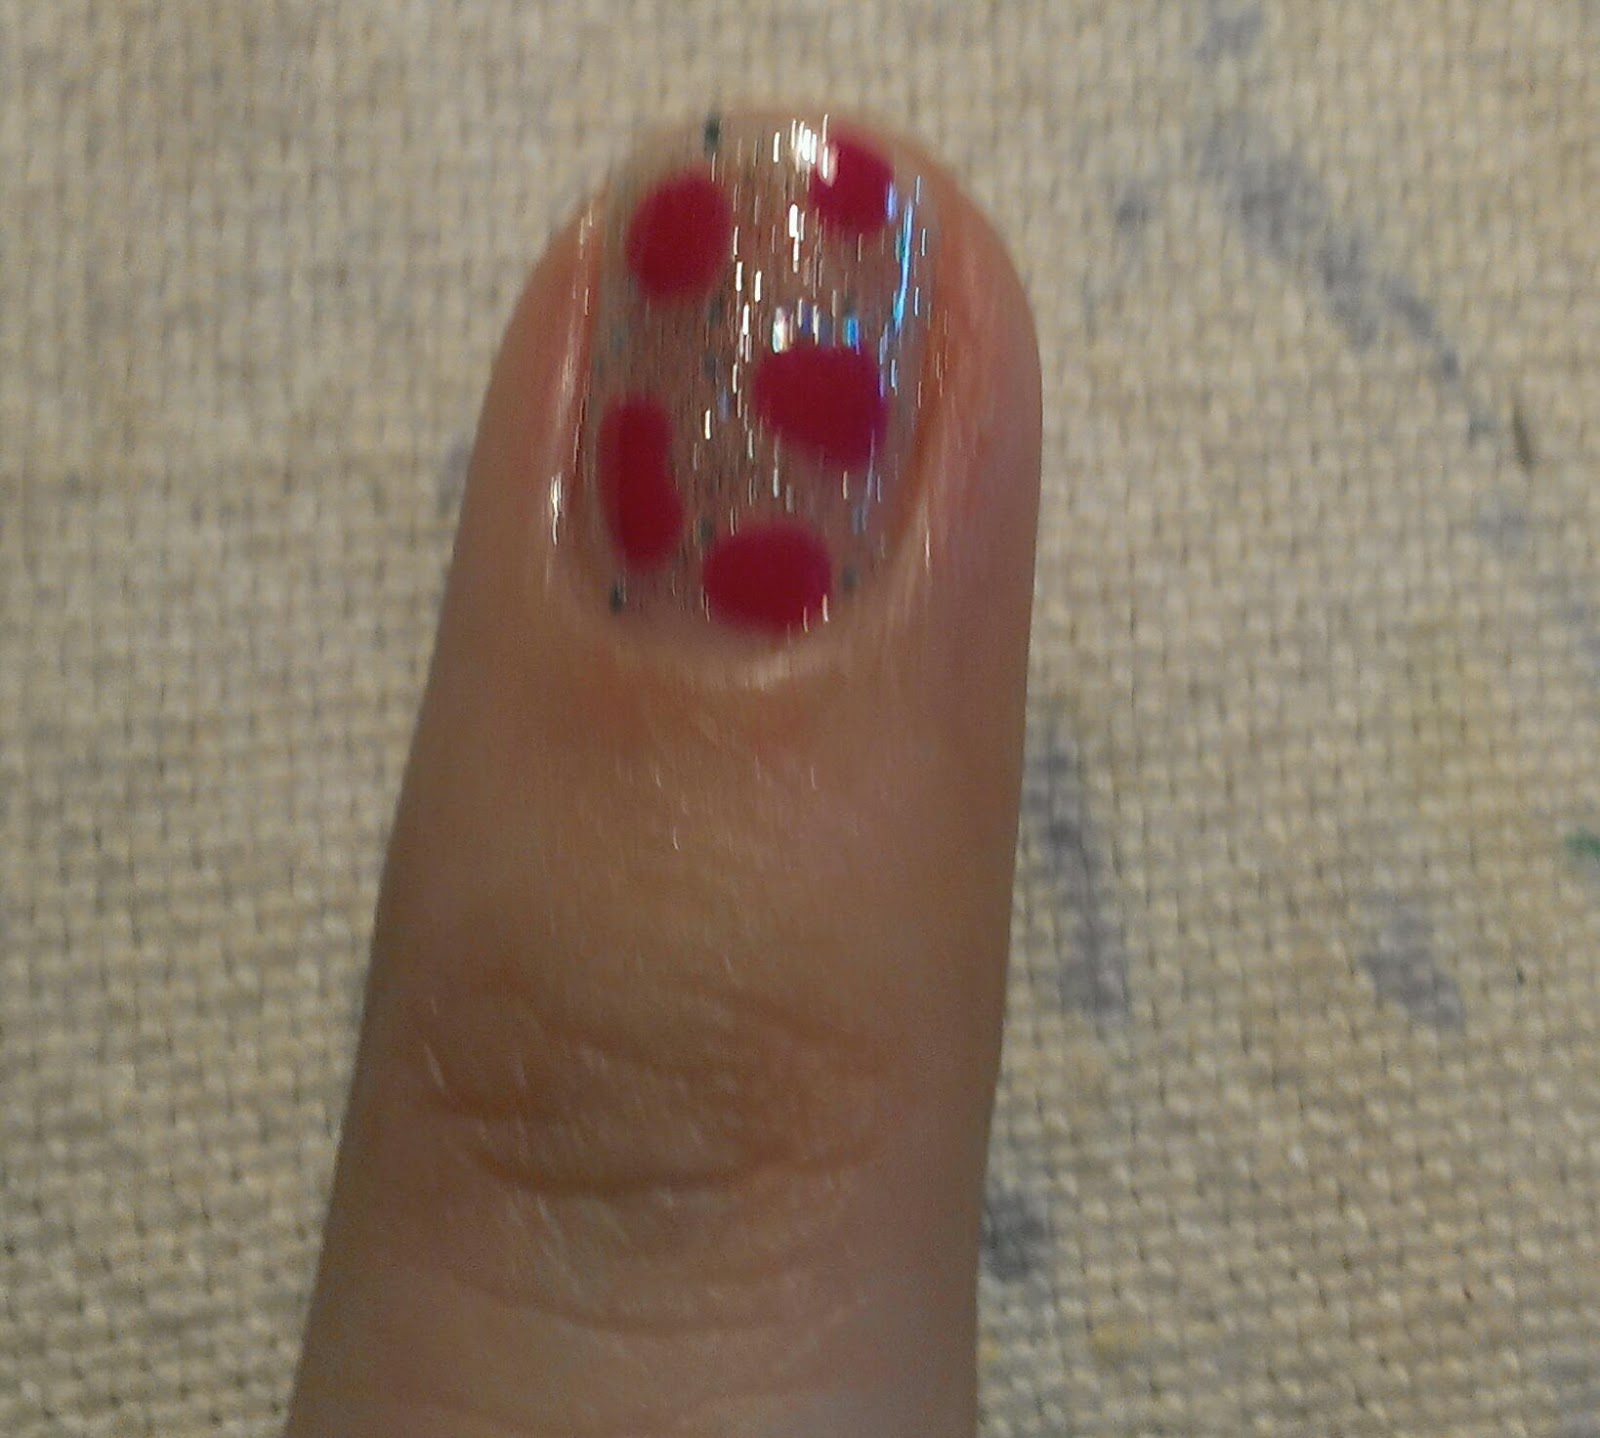
Step 5: Paint your index finger with silver glitter polish. If you are using a loose glitter like I did, you may want to paint your index finger first with a silver glitter then cure the nail in the UV light to get the tacky surface for the loose glitter to stick to. Once cured, dip a dry nail brush into loose glitter and appy to the nail. (If using regular polish paint with a top coat and before the top coat dries dab loose glitter onto the nail).


Step 5: Apply a top coat to all the nails. If you used the loose glitter, you may want to apply two coats of the top coat to that nail.

I really liked the way this turned out. I think it would work with practically any color. Enjoy!


Tuesday, July 23, 2013

Striped Leopard Mani


It's been awhile since I did a nail tutorial. Considering most of my posts are nail tutorials! You are in for a treat with this one.

It's a bit advanced but only because there are multiple steps. It takes some time but it is totally worth it. I got this idea from a Pinterest pin, but the link to the picture is not working so I cannot give the picture credit.

Note** It's very important to let your polish dry completely between each step! If you are doing this with the gel nail system (as I did) you need to cure each coat..

What you will need:
- Base and top coats
- Pink polish
- Black polish
- Small glitter polish
- Large or chunky glitter polish
- Striping tape
- Dotting tool


Start by painting your nails with the glitter. I used a very fine glitter on my pinky, middle, and index fingers. On the ring finger and thumb, paint it with a thicker/bigger. You can use the same glitter on all the fingers, but I wanted some contrast so that you would be able to see the leopard pattern better.


Next, on your nails that will be striped (pinky, middle, and index fingers), use the pink polish and paint about 1/3 of the nail starting at the tip. It's OK if the line is not perfectly straight. The tape will cover the line.


Now use your striping tape and place a line across the paint line of the pink. Make sure your nails are completely dry when you do this.


On your thumb and ring finger, use the dotting tool to add odd shaped ovals. This will be the start of the leopard print. TIP: It's easier to put some polish onto a foil piece or plastic rather than dipping the dotting tool into the nail polish bottle.


Using the black polish, create small "C" shapes around each of the pink dots. Randomly add black dots to add more detail.


Now finish with a top coat. I like to add two top coat layers, especially on the nails with the tape so that you ensure the tape will stay down.

Rock your cute mani :) 


Monday, July 22, 2013

Healthy Hot Dog Bites

Another quick and easy (and cheap!) snack idea for parties or appetizers. Each bite has 49 calories. It only costs about $6 for 21 servings.

What you will need:
- Hebrew National 97% fat free beef franks
- Reduced fat crescent rolls (about 100 calorie per roll, with 8 servings per container)


Start by cutting the dogs into thirds.


Now open the dough, and cut each roll into thirds. I measured the dough to make sure I had even portions. It was about 9 grams per serving which was more than enough to wrap the whole dog. They don't all need to be triangles.

Now wrap each dog in the dough and place on an ungreased baking sheet.


You can cover with plastic wrap and store it in the fridge until you are ready to cook. Once ready to serve, cook at 375 for 12-14 minutes. Serve with mustard or ketchup.


Sunday, July 21, 2013

Cucumber Mini's


I don't post a lot of recipes on here because I am really not that great of a cook! However, as of late, I have been trying hard to eat clean and part of that is making a lot more things myself. I had a little pool party yesterday and I was trying to stick on my healthy path so I made little cucumber sandwiches.

These are super easy, really tasty, and only 35 calories per mini.

What you will need:

- 2 large cucumbers
- 1 container low fat whipped cream cheese
- Garlic Salt
- Ham (or turkey)
- Cherry Tomatoes


Start by mixing the cream cheese with some garlic salt to taste. I added about 1.5 tsp to a half container of the whipped cream cheese. I like the whipped cream cheese because it's easier to mix than the blocks.


Next, cut your cucumbers. You don't want really thick pieces but you don't want really thin slices. They should be thick enough to hold the mini together. Then cut your lunch meat in half. I used the deli shaved slices so 1/2 of a slice was perfect. Then, cut your cherry tomatoes in half. If they are really big cut them into thirds.


Spread the cream cheese garlic mixture onto each side of the cucumber slices. Then layer the ham and tomatoes. I used about 1tsp of cream cheese on each slice.


Put on a platter and serve! I added toothpicks so they were easier to pick up. Each mini is only 35 calories. Enjoy!


Sunday, July 14, 2013

4th of July Nails on July 14th


I'm a slacker! I know it. I did this manicure a few days before the 4th in hopes to post this on the 4th. I failed miserably on that goal BUT I did manage to post it on the four...teenth. Works sorta.

Anyway here's the manicure. I also slaked in the fact that I forgot to take pictures during some of the steps. I know, I suck. I will do my best to explain what I did. Use your imagination. :)

What you will need:
- Top and base coats
- Red, white, and blue nail polish
- Thin nail brush
- Dotting tool
- Glitter (optional)


Step 1: Start by prepping your nails as you normally would (file, clip etc.) Then paint your base coat and let dry. (cure the base coat if you are doing a gel manicure) 

Step 2: Paint ring finger from the cuticle halfway up the nail with red paint in a line. It is sometimes easier to use your thin nail brush and paint a divider line, and use that to help guide you.


Step 3: Paint the remainder of the nail with blue polish.


Step 4: Paint your thumb and pinky fingers with red polish. Paint your middle and index fingers with blue polish. Let dry completely. (If using gel cure hand in the UV light)


Step 5: On the middle finger in the blue part, dot white dots like starts in a even way across the nail.

Step 6: On the middle finger in the red part, carefully paint thing white stripes with your nail brush. Let dry completely (or if using the gel polish cure in UV light)

Step 7: **Optional** if you want to add some more bling, add red glitter over the red nails and blue glitter over the blue nails. I used lose glitter and added it using a dry brush.

Step 8: Top coat and let dry.

Now enjoy your patriotic nails! I got so many compliments on this manicure even though the lines were not that straight. People loved it and so did I. Try mixing it up or adding more flags.


Boot the Bucks and Make Your Own Cup

I have been addicted to cold brew coffee for a long time. I kind of forgot about it until recently. It could have something to do with the fact that it's over 100 degrees out 23 hours of the day here.

If you have never had cold brew coffee you are in for quite a treat. Instead of taking hot coffee and cooling it in the fridge or pouring it over ice, the concept here is to brew it cold and strong so it tastes smooth and is highly caffeinated. You can use it to make iced mocha's, frappe's or ices lattes. It's not bitter and you don't need an espresso machine.

What you will need:
- A French Press (they are super cheap and handy to have)
- Coffee beans
- Coffee grinder


Start by grinding your coffee. You want a coarser grind than you would normally do for regular coffee. You can use already ground coffee if you want, I just prefer to use fresh beans and grind them coarse. It's easier to filter that way. Read the instructions for your press, depending on how many cups it is, depends on how much coffee you want to use.

My French Press is 4 cups, and I do about 1 cup of beans. That is quite strong I know, but I make a concentrate out of it. I'll explain later. But basically, the stronger the better with the cold brew.


Now, dump the coarsely ground coffee into the french press.


Now, add hot water to fill the press. Only fill it to the fill line recommended by your press instructions. The water doesn't need to be boiling, just hot tap water, or if you don't want tap water, heat the water in the microwave or tea kettle. 


Next, stir your coffee ground water mixture. 


Cover the top of your press with foil. You will not press the coffee until it's done brewing. Put the pitcher in the fridge. This coffee will need to stay in the fridge for 24 hours to brew. Yes it's brewed cold, hence cold brew coffee. Trust me on this one folks, this stuff is great! Over the next day while it's brewing, you can stir the mixture a few times, but the longer you let it brew the better.


After 1 day in the fridge, press the coffee with the press mechanism that comes with the french press. Pour the coffee into an air tight container (you will most likely not need to use all the coffee now). 

This is the best tasting cold coffee you will ever have. I use 1 part cold coffee 2 parts water and add ice and a little creamer and drink it over ice. If you like your coffee stronger like my crazy husband you can drink it straight. For the first time you try it play around with how much coffee grounds you use and how strong it is. You'll be surprised how strong it is and you don't want a crazy coffee buzz all day. 

Once you get a nice strong mix, try using a few ounces in a blender with some ice and powder creamer and milk. Add some vanilla syrup or chocolate syrup and you have a homemade frappe. 

Add a few ounces of the coffee concentrate with some milk and chocolate syrup and you have an iced mocha. It is really versatile and tasty, you just need to get it strong. Hope you enjoy! Let me know if you try it and how it works out, I am interested to hear feedback on this one :) 

Wednesday, July 10, 2013

Do It Yourself! Temporary Tattoo...?

In the name of bargain hunting and saving money, today I dedicate this post to the cheapskate, artsy, tattoo artist wanna-be in all of us. Also, I am participating in The Pintester Movement! Don't know what that is? Get on it yo...

OK, for my retest of a Pintester test, I am going to attempt the DIY Temporary Tattoo. Find the Pintester's attempt here and the original instructions here.

Since I already have tattoo's this one should be cake. I mean, I am an expert since sat through all those sessions. Doing that helped to enable me to be the best DIY Temporary Tattoo maker/tester out there. I have a feeling I am going to rock this one!

Awesomeness not pictured
Supplies:
- Parchment Paper
- Pencil
- Gel Pen
- Cloth
- Warm water
- Skin (this is vital, the article didn't say if it would work on scales or scutes. (Sorry turtles, no DIY Tattoos for you!)
- Awesomeness (this one I didn't have to buy, I was naturally blessed with this. If you want to buy it I think amazon sells it for about $12.99 + free shipping if you are a prime member)


Start by sketching something out in pencil onto the parchment paper.. OK. What do draw, what to draw?

Got it...
My artistic skillz rox! 
Now trace over the pencil with the gel pen... sounds easy enough. Pen wouldn't work and draw on the parchment paper... it may be user error but I doubt it.


Next, place tattoo on skin and add warm water to transfer over. I was going to put it on my ass cheek but I figured I'd have a hard time taking a photo of it so I resorted to my hand.


Yea...Next time will remember that the transfer paper mirrors the image.. good thing I don't do this for a living. Test - 1  Lindsay - 0